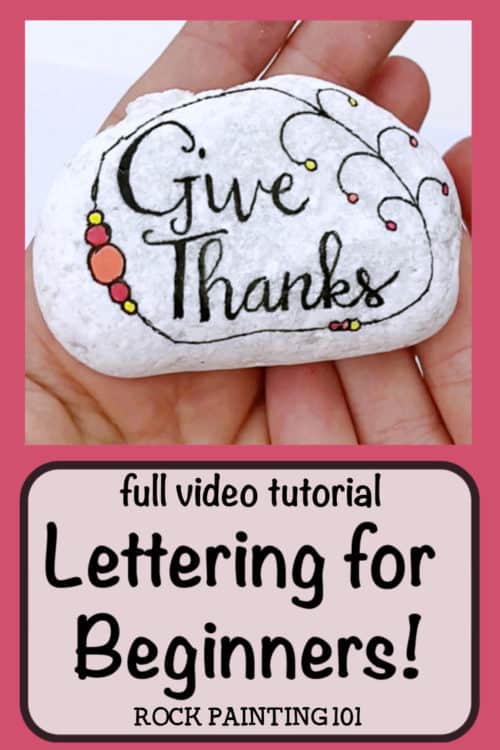
Make beautiful hand-lettered Thanksgiving rocks with this step by step tutorial. Hand lettering has always been hard for me, but these practice sheets are perfect for learning!
Hand Lettered Thanksgiving Rocks
To be 100% honest when it comes to my handwriting skills I had, well…, none.
In all of my years of doodling, I never broke into the hand lettering scene.
However, I know this is something others struggle with so I decided it was time to start working on it.
I am far from where I want to be but confident enough to share some tips with the rest of you.
This page contains affiliate links which means if you make a purchase using the link, I could receive a commission. Check out all the details here.
Step by step instructions for this hand lettering painted rock
There is no way I could have completed this rock without these practice sheets!
You know that old saying practice makes perfect… well they were on to something with that, weren’t they. I found these awesome practice sheets on Etsy. They are full of fun fall phrases and great for beginners who don’t know where to start.
Once you practice your design a bit on paper it’s time to go to the rock.
Now drawing on a rock is a bit different than brush strokes on paper. Start by adding your design lightly in pencil to your rock.
I only drew a single line for each letter. Adding the thickness will happen when I’m filling them in. 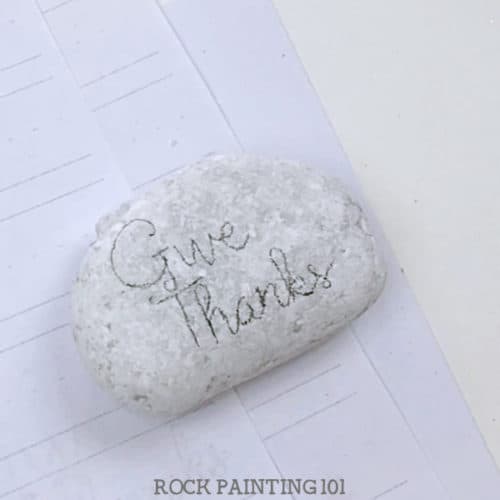
When you are happy with the size and placement of your letters it’s time to get serious. I love to use my Micron pens because they are very precise and come in a lot of different sized tips. 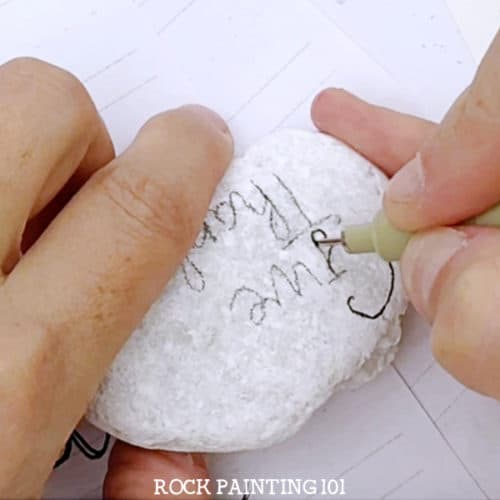
You can work one word at a time by tracing all of the letters first then adding the thickness. 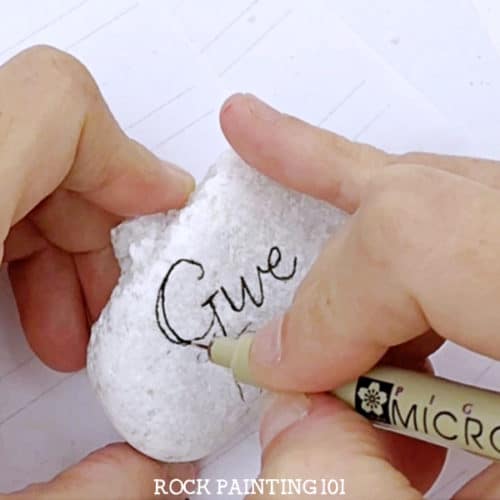
Or you can work one letter at a time. Whichever works best for you. 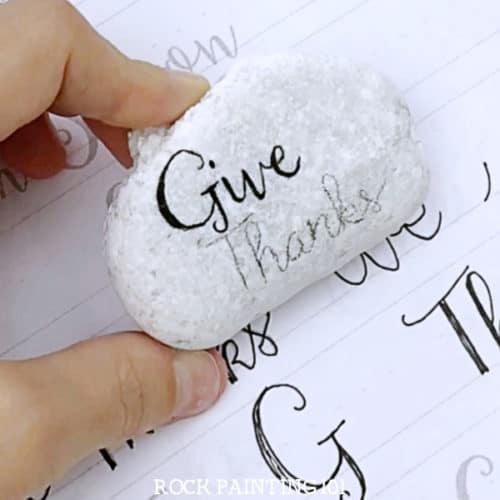
The main rule of this style of lettering is thin line up thick line down.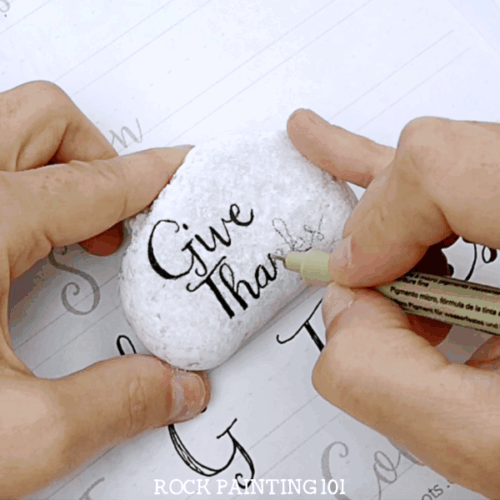
I’m so proud of how far I’ve come in my lettering.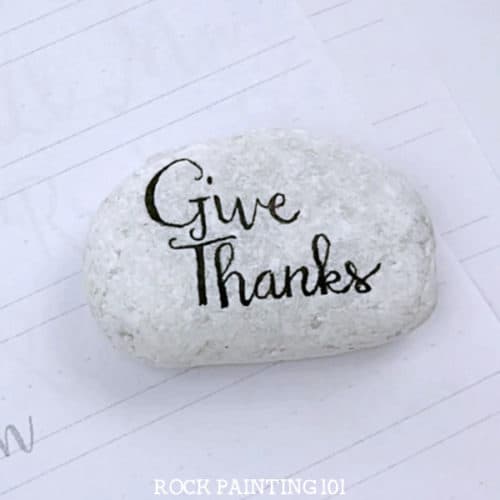
101 TIP: Micron pens can wear down on a raw rock so make sure to use a light touch. They can also collect a bit of dust so doodle off the tip from time to time to extend their life.
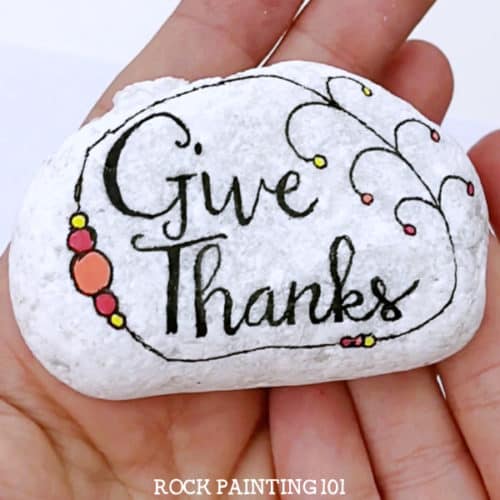
Paint a Thankful Rock
Once your lettering is finished you can add a fun design. I started by drawing an oval around my letters. 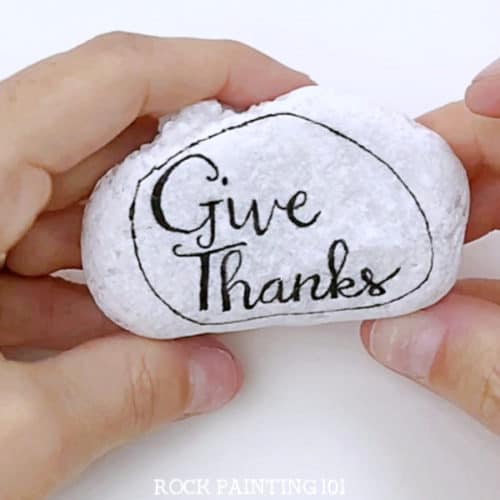
Find a place where there isn’t a lot of text and add a few pulls with dots on them.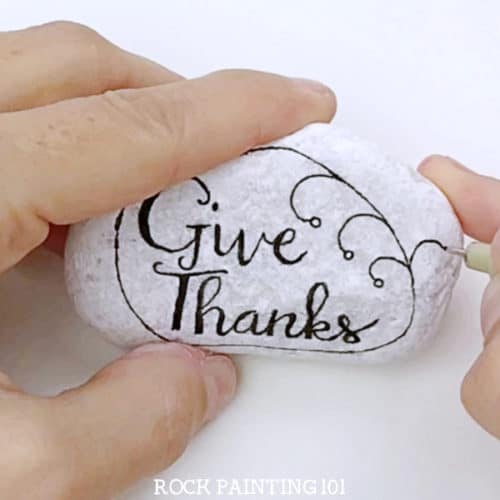
Add some large circles on one side. 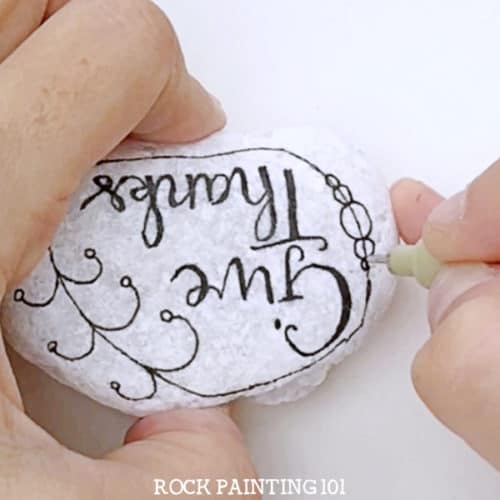
A couple of small circles on the bottom. 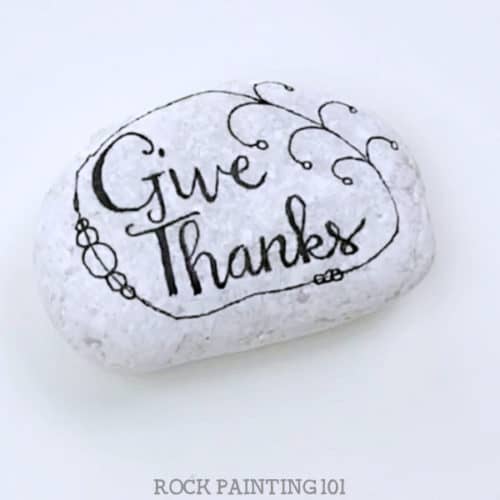
Finally, I went around and filled in all of the circles with red, orange, and yellow paint pens. I’m so happy with how this rock turned out and it most certainly won’t be my last hand-lettered rock.
Watch this real-time video to see each and every step!
Pin this Thanksgiving rock to your favorite Pinterest board!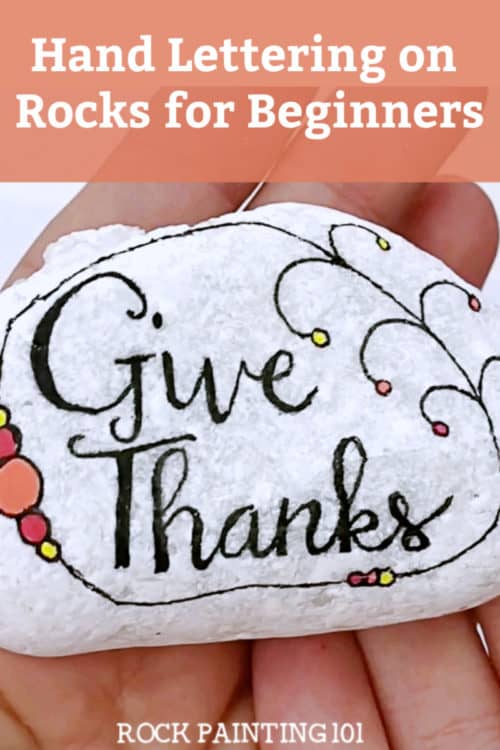
If you enjoyed this fun rock painting idea, you’ll love these!