Paint a beautiful hummingbird using a simple technique. Create the look of watercolors without the difficulty and you’ll paint a beautiful rock.
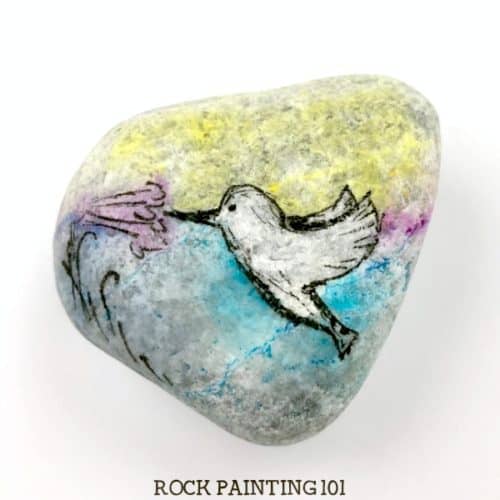
Hummingbird Rocks
Creating a washed-out watercolor look doesn’t have to come with buying expensive watercolors for your rocks!
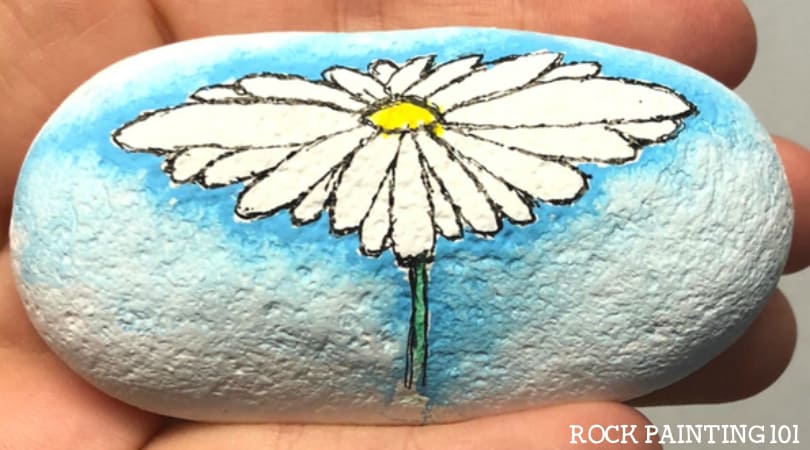
A while back I showed you how to use this technique to create beautiful flowers and now we are going to use it to create hummingbirds for this week’s #52Rocks! prompt
This page contains affiliate links which means if you make a purchase using the link, I could receive a commission. Check out all the details here.
Step by step instructions for this watercolor painted rock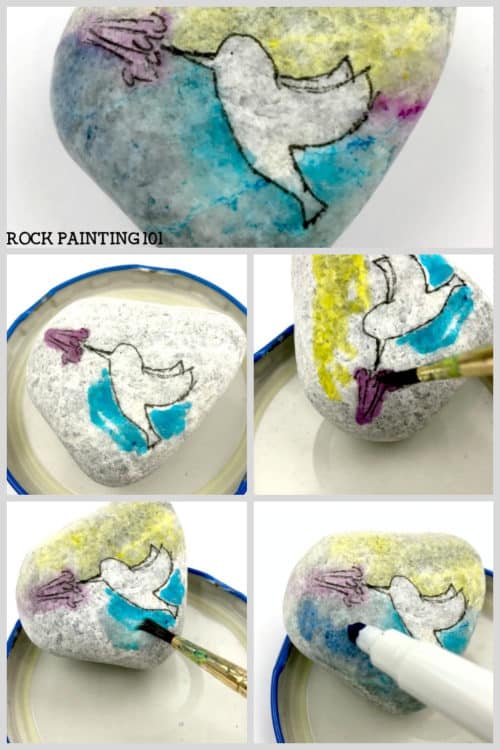
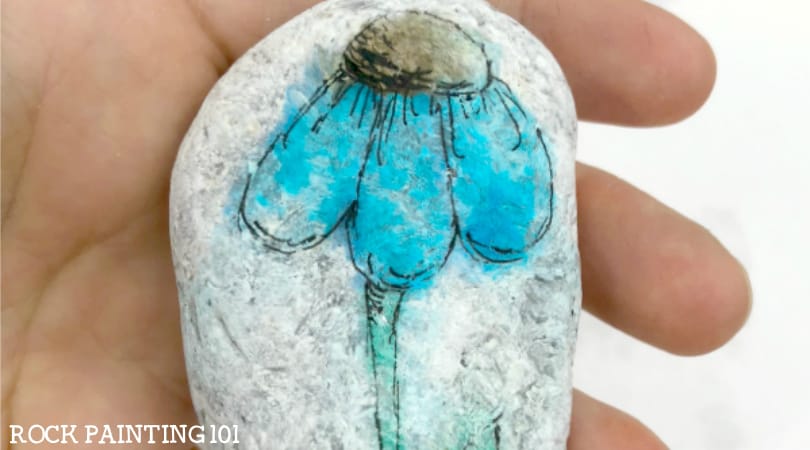
I used my Micron pen to create an outline for my hummingbird.
I went very simple here with my design. I also add a flower for the hummingbird to be drinking from.
Now grab some washable markers and block out some colors. 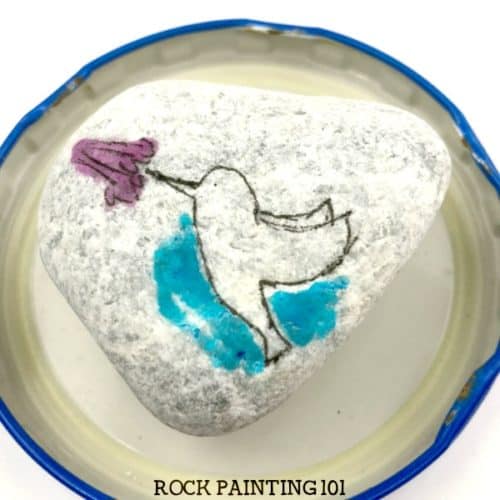
Next, it’s time to make the colors bleed a bit.
Make sure to do this over a surface you don’t mind getting wet. I use jar lids for this. Using a wet paintbrush move the color around.
Be sure to hold your rock at an angle so that the color drips away from your bird.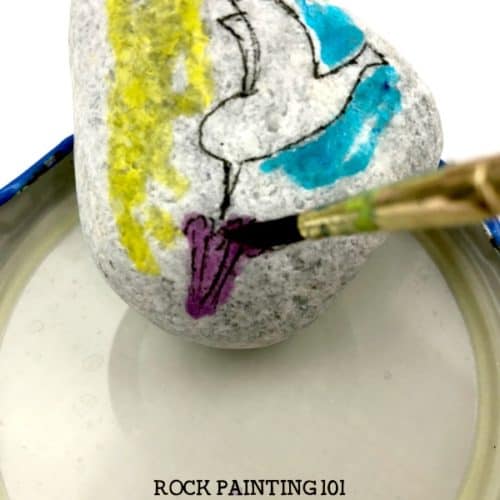
If you wash off too much color you can go back and add in more. 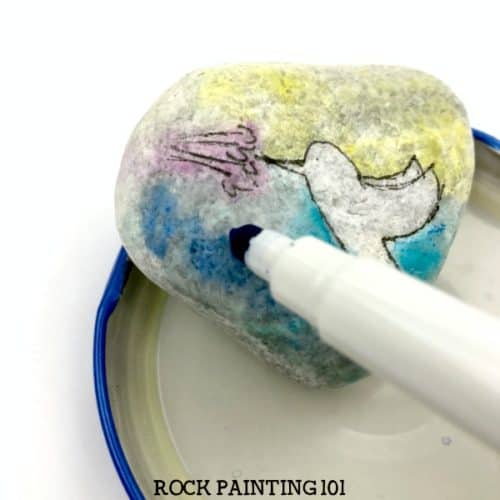
When you like the look of your rock you can add in more details on the bird.
101 Tip: A little shading can go a long way. Try adding more black on the back wing or on the belly.
Let dry completely before you seal. Also, when sealing start with a very light coat. You do not want to oversaturate the rock as this may make the colors bleed again.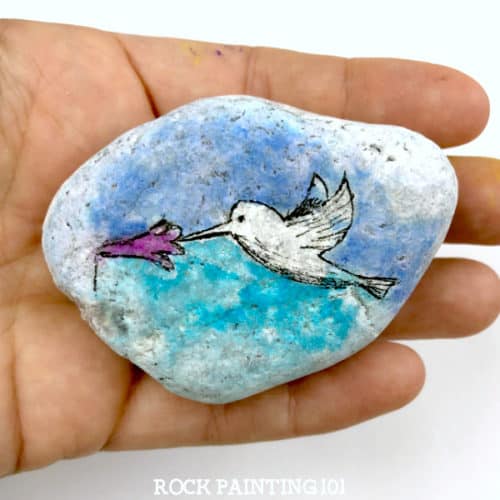
Pin this bird rock to your favorite Pinterest board!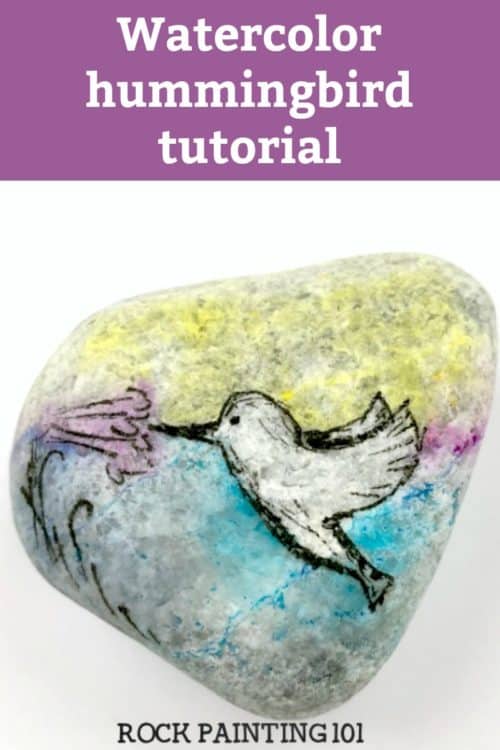
If you enjoyed this fun rock painting idea, you’ll love these!