Learn how to make beautiful and glossy rocks using resin. These tips will help you to create amazing painted rocks!
Resin Rocks
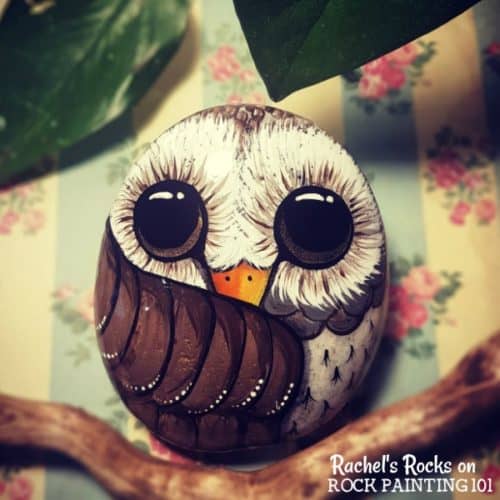
Resin rocks are beautiful and shiny and almost look like glass! We love the look and when it comes to talking about how to paint rocks with resin, there is no better person than Rachel of Rachel’s Rocks!
Rachel is a self-taught painter, who picked up a paintbrush for the first time in 2011. She is lucky enough to be a stay at home mom with her youngest child, and also to be able to run Rachels Rocks Canada at the same time.
Since she usually is quite the night owl, letting most of her creativity flow at night while the family sleeps.
Rachel paints mostly rocks but also paints beach glass, canvas etc.
She finds the most gratitude in inspiring others and sharing what she has taught herself. You can follow along with her amazing creations on YouTube, Etsy, Instagram, Pinterest, and Facebook.
This page contains affiliate links which means if you make a purchase using the link, I could receive a commission. Check out all the details here.
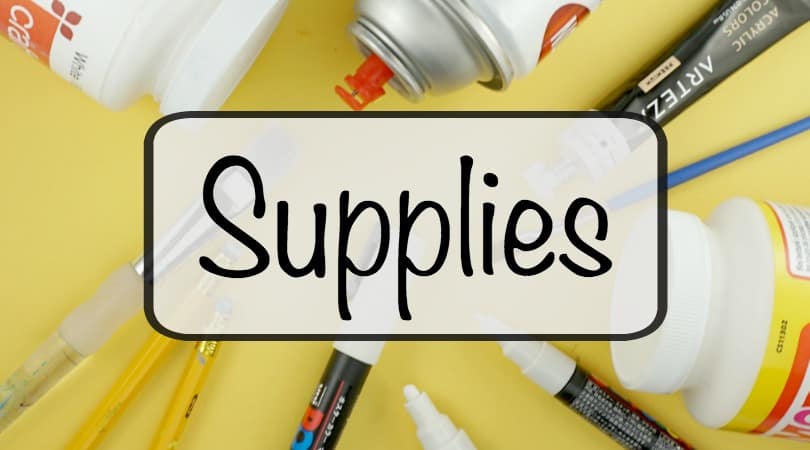
Supplies needed for resin coated rocks:
- Plastic cutting board or matt usually found at Dollar Store
- Measuring spoons
- Plastic or glass container
- Wooden popsicle sticks
- Paintbrush from the dollar store (one where bristles do not loosen with use)
- Rubber gloves
- Mixing container (glass or plastic)
- Art Resin (both resin and hardener needed)
- Straw (for removing bubbles)
- Plastic container for covering rocks to protect from dust/hair etc
- Hair tie (for tying hair back!!!)
- Alcohol-based hand sanitizer for clean up
- Mask if you prefer
Step by step instructions for using resin on painted rocks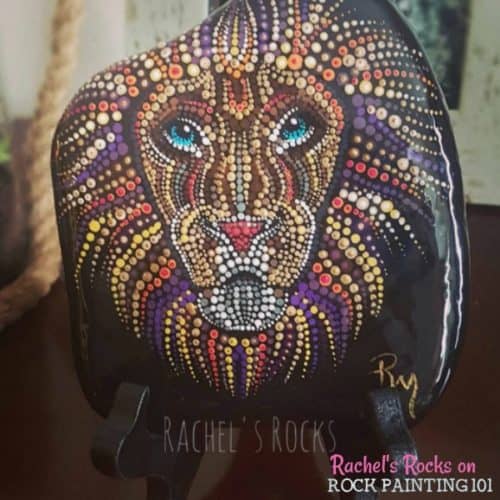
These step by step instructions will help you create beautiful rocks with a resin sealer. Don’t forget to check out the video below too!
Step 1
Put gloves on and add resin and hardener in equal parts to plastic or glass container.
A tablespoon of each will go a long way depending on the size of medium.
If there are any leftovers, you can precoat your next medium. I do this for rocks that are not as smooth as Id like. They are easily paintable once dry.
Step 2:
Mix with popsicle stick until you see pearlescent bubbles. Approx 2-3 minutes.
Let sit for 10 minutes.
While resin is sitting, organize rocks onto the plastic surface. The plastic surface will help you detach rocks without damage after 10-12 hours.
Step 3:
Using a paint brush, paint on a small amount of resin on the bottom of the rock.
Using gloved hands, “soap” up the rock using what you applied, coating entire rock in a thin layer.
Tip!: Make sure paint is completely dry before doing resin work, as this will result in bubbles when the resin is curing if there is moisture.
Step 4:
Place rocks on plastic matt art side up. Using a paintbrush, add resin to top of the rock and brush around to give the rock a thicker top coat.
Make sure to brush any runs or drips around the sides and bottom to mitigate thick bumpy bottom.
Using your straw, gently blow, targeting bubbles. Be careful to not have any moisture blow through the straw, as this will not cure properly.
A secondary method is using a torch or artist heat gun, as this will remove bubbles as well.
Good lighting to see bubbles is key to this step.
Step 5:
Examine the rocks for any dust or hair/bristles from brush immediately after.
Pull any away with a gloved hand and recoat the area, blowing with a straw if new bubbles occur.
Cover with a container to keep dust away.
Tip!: Humidity, dust, hair, improper mix ratio, is the biggest cause of poor results in topcoat. Follow manufacturers instructions for humidity/temperature recommendations.
How to use resin when painting rocks
See it all in action with this tutorial from Rachel’s Rocks!
Pin this rock painting tutorial to your favorite Pinterest board!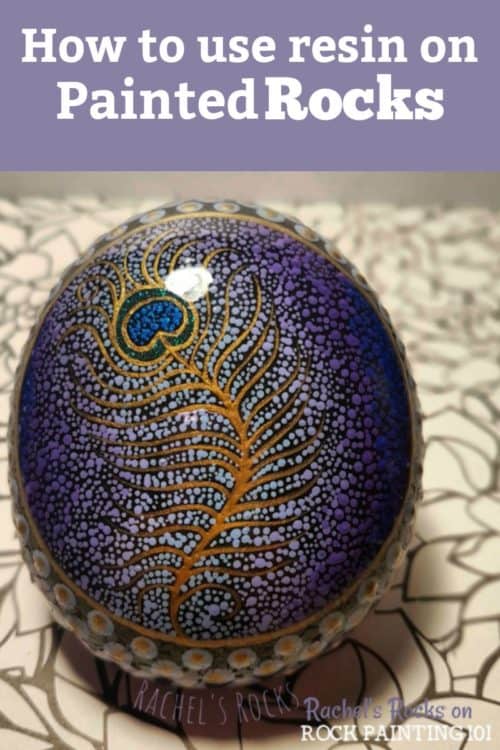
If you enjoyed this fun rock painting idea, you’ll love these!